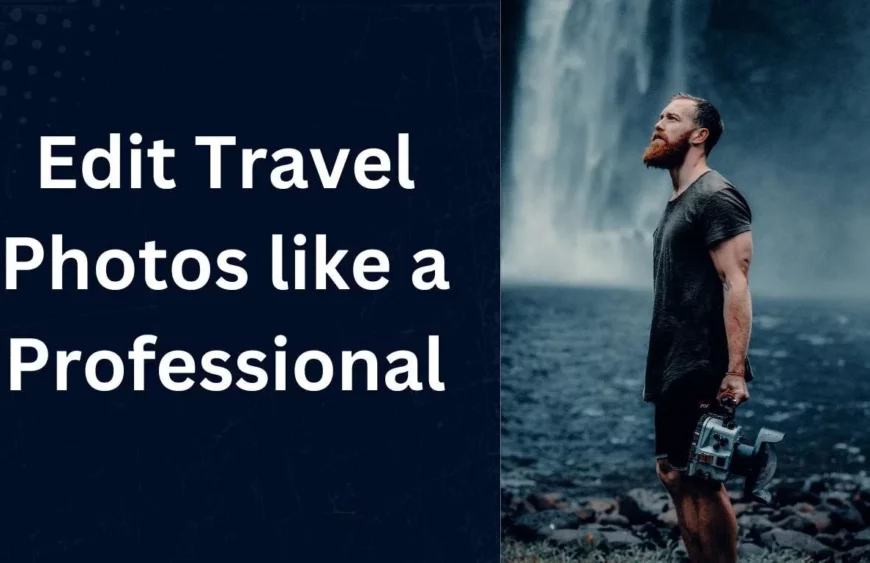
How to Edit Travel Photos like a Professional using Lightroom Mobile
1. Edit Travel Photos using Lightroom Mobile
Traveling brings a treasure trove of memories, often captured in photographs. However, even the most picturesque scenes can benefit from some editing to truly shine. Adobe Lightroom Mobile is a powerful tool that allows you to edit travel photos like a professional, right from your smartphone. This guide will walk you through the essentials of using Lightroom Mobile to enhance your travel photography.
How Do I Make My Photos Look Good in Lightroom Mobile?
1. Import and Organize Your Photos
- Start by importing your travel photos into Lightroom Mobile. Organize them into albums for easy access and workflow management.
2. Use Presets for Quick Enhancements
- Lightroom Mobile offers a variety of presets that can instantly transform your photos. Presets apply a predefined set of adjustments, giving your photos a consistent look. You can find many free and paid presets online, tailored for different types of travel photography.
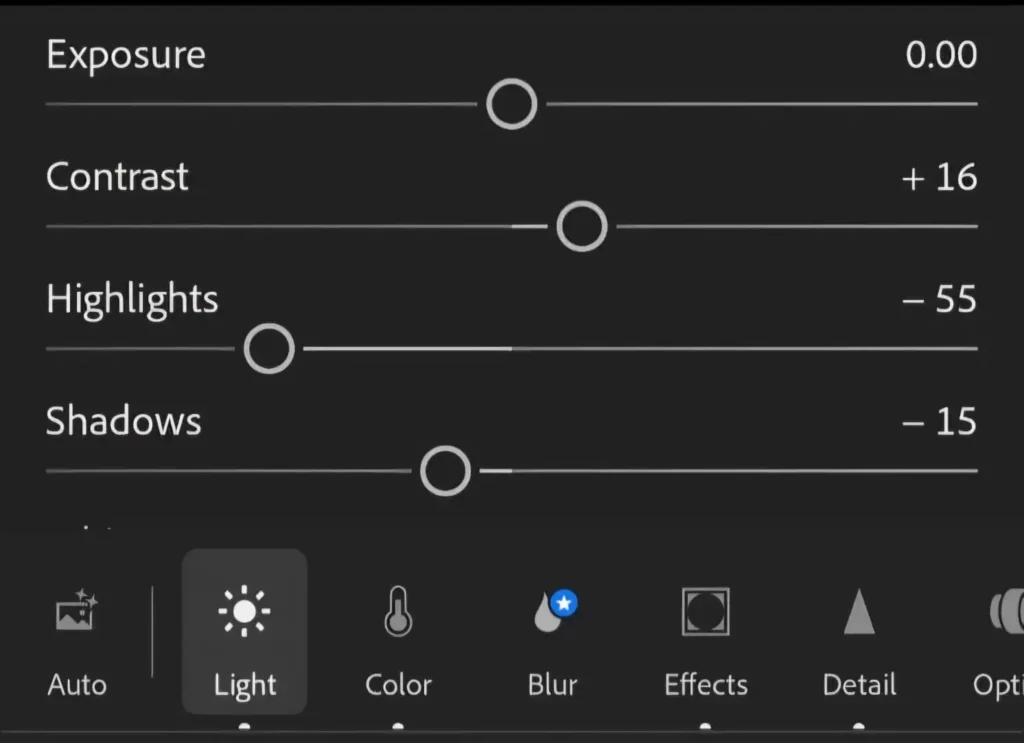
3. Adjust Exposure and Contrast
- Proper exposure and contrast are crucial for a striking photo. Use the ‘Light’ panel to adjust exposure, contrast, highlights, shadows, whites, and blacks. This step ensures your photo is neither too dark nor too bright and has the right amount of contrast to make it pop.
How to Edit Travel Photos in Mobile Like a Professional?
1. Crop and Straighten
- Composition is key in photography. Use the ‘Crop’ tool to straighten horizons and crop out any distractions. This tool also allows you to change the aspect ratio to fit different social media platforms.
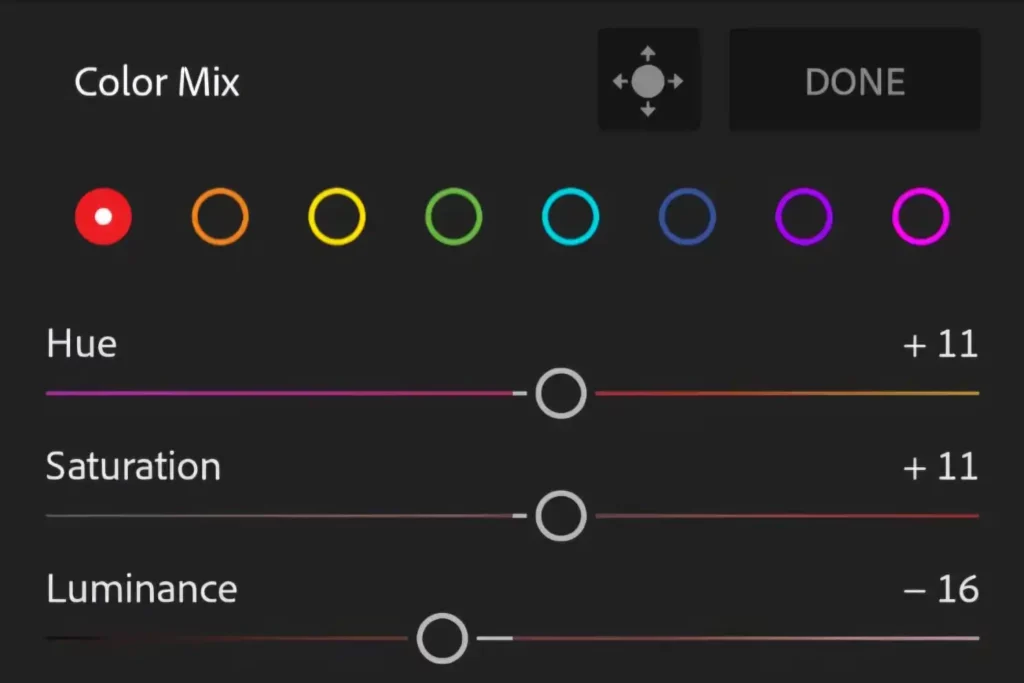
2. Fine-Tune Colors
- The ‘Color’ panel lets you adjust white balance, temperature, tint, vibrance, and saturation. Correcting white balance can fix color casts, while tweaking vibrance and saturation can make the colors in your travel photos more vivid without overdoing it.
3. Use Selective Adjustments
- Professional edits often require targeted adjustments. Lightroom Mobile’s selective tools allow you to apply edits to specific parts of your photo using brushes, radial filters, and gradient filters. This is perfect for enhancing certain areas without affecting the whole image.
How to Edit in Lightroom Like a Pro?
How to Edit Travel Photos like a Professional using Lightroom Mobile
1. Master the Tone Curve
- The Tone Curve is a powerful tool for fine-tuning the contrast and tone of your photo. Learning to use the tone curve can help you achieve professional-level edits. Start with basic S-curves to enhance contrast and then experiment with more complex adjustments.
2. Sharpen Your Images
- Sharpening can make your photos look crisper and more detailed. In the ‘Detail’ panel, adjust the sharpening amount, radius, and detail sliders. Be careful not to over-sharpen, as this can introduce noise.
3. Reduce Noise
- High ISO settings and low light can introduce noise into your photos. Use the noise reduction sliders in the ‘Detail’ panel to smooth out graininess while preserving detail. This is especially useful for night or indoor travel photos.
How to Edit Trip Photos?
1. Enhance Skies and Landscapes
- Use the graduated filter to enhance skies by adjusting exposure, contrast, and color temperature. This can bring out the drama in sunsets and sunrises, making your landscape photos more dynamic.
2. Boost Details in Architecture
- When editing architectural photos, emphasize lines and details by increasing clarity and contrast. The ‘Geometry’ tool can also help correct perspective distortions, making buildings look straight and proportional.
3. Make Your Portraits Pop
- For portraits, focus on enhancing skin tones and eyes. Use the selective adjustment tools to brighten eyes and smooth skin. Adjust the clarity and texture sliders to enhance or soften facial features as needed.
How Do I Sharpen an Image in Lightroom Mobile?
Sharpening is crucial for enhancing the details in your travel photos. To sharpen an image:
- Navigate to the ‘Detail’ Panel
- Tap on the ‘Detail’ icon, which looks like a triangle.
- Adjust Sharpening Settings
- Increase the ‘Amount’ slider to sharpen the image.
- Adjust the ‘Radius’ to control the size of the area around each edge that is sharpened.
- Use the ‘Detail’ slider to focus on finer details.
- Masking allows you to limit sharpening to edges, reducing the risk of introducing noise in smooth areas.
Is Mobile Lightroom Good?
Absolutely! Lightroom Mobile is a powerful, versatile app that brings professional-grade editing tools to your fingertips. It’s well-suited for both amateur photographers looking to enhance their travel photos and professionals who need to edit on the go. With its user-friendly interface and robust feature set, Lightroom Mobile allows you to transform your travel photos into stunning visual memories.
In conclusion, Edit Travel Photos like a professional using Lightroom Mobile involves mastering a variety of tools and techniques. From basic exposure adjustments to advanced selective edits, this app provides everything you need to make your travel photos stand out. Happy editing!


